
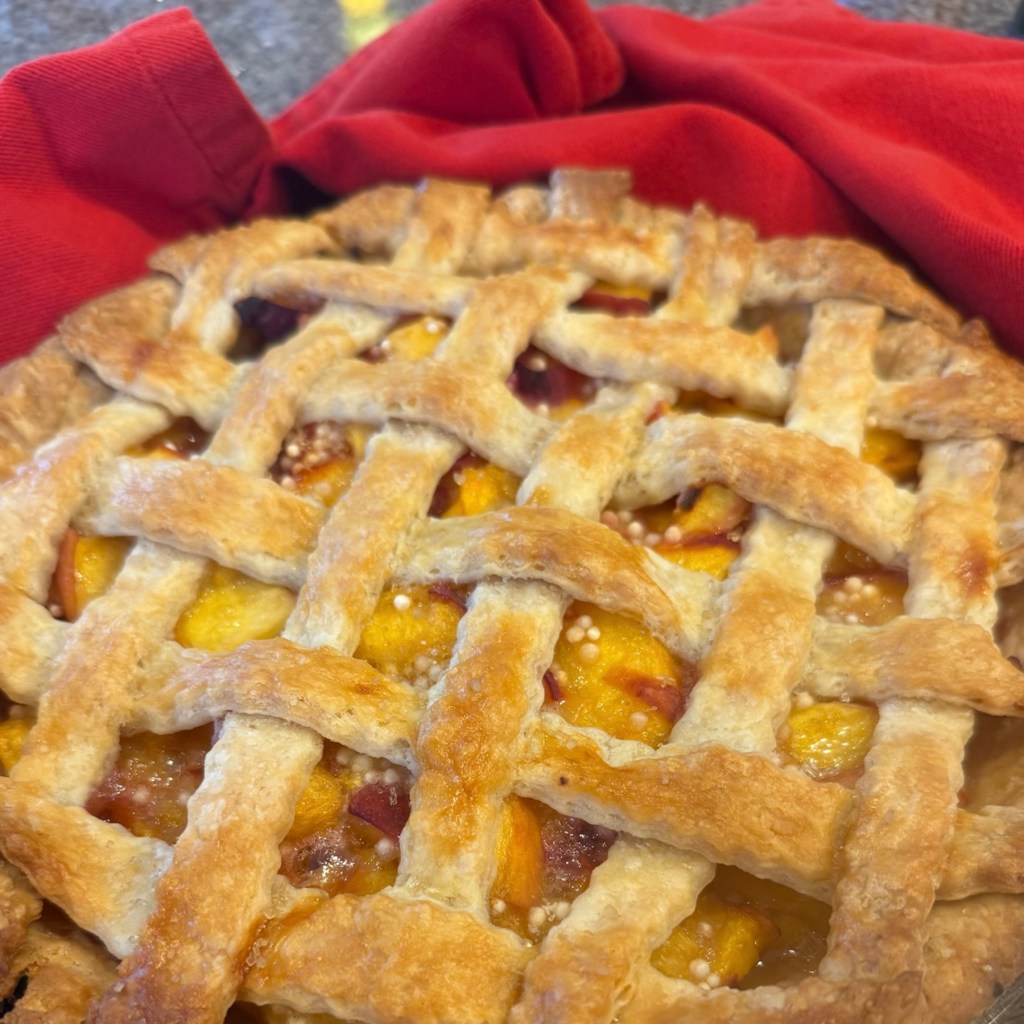
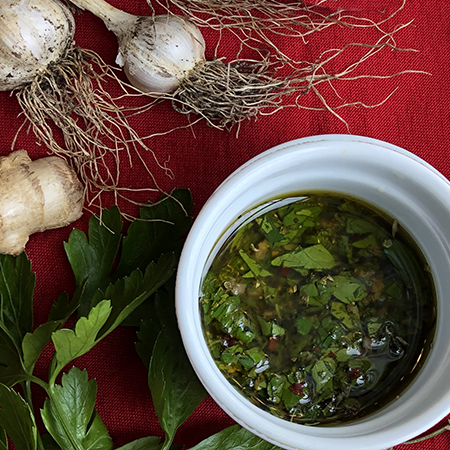
Come August in the Northwest, peaches are everywhere and it’s hard to beat this recipe for pure flavor and flakiness!
Peach Pie
Double Crust Pie Dough
See Butter/Leaf Lard recipe below. (Keep dough in the fridge until it’s time to roll out).
Filling
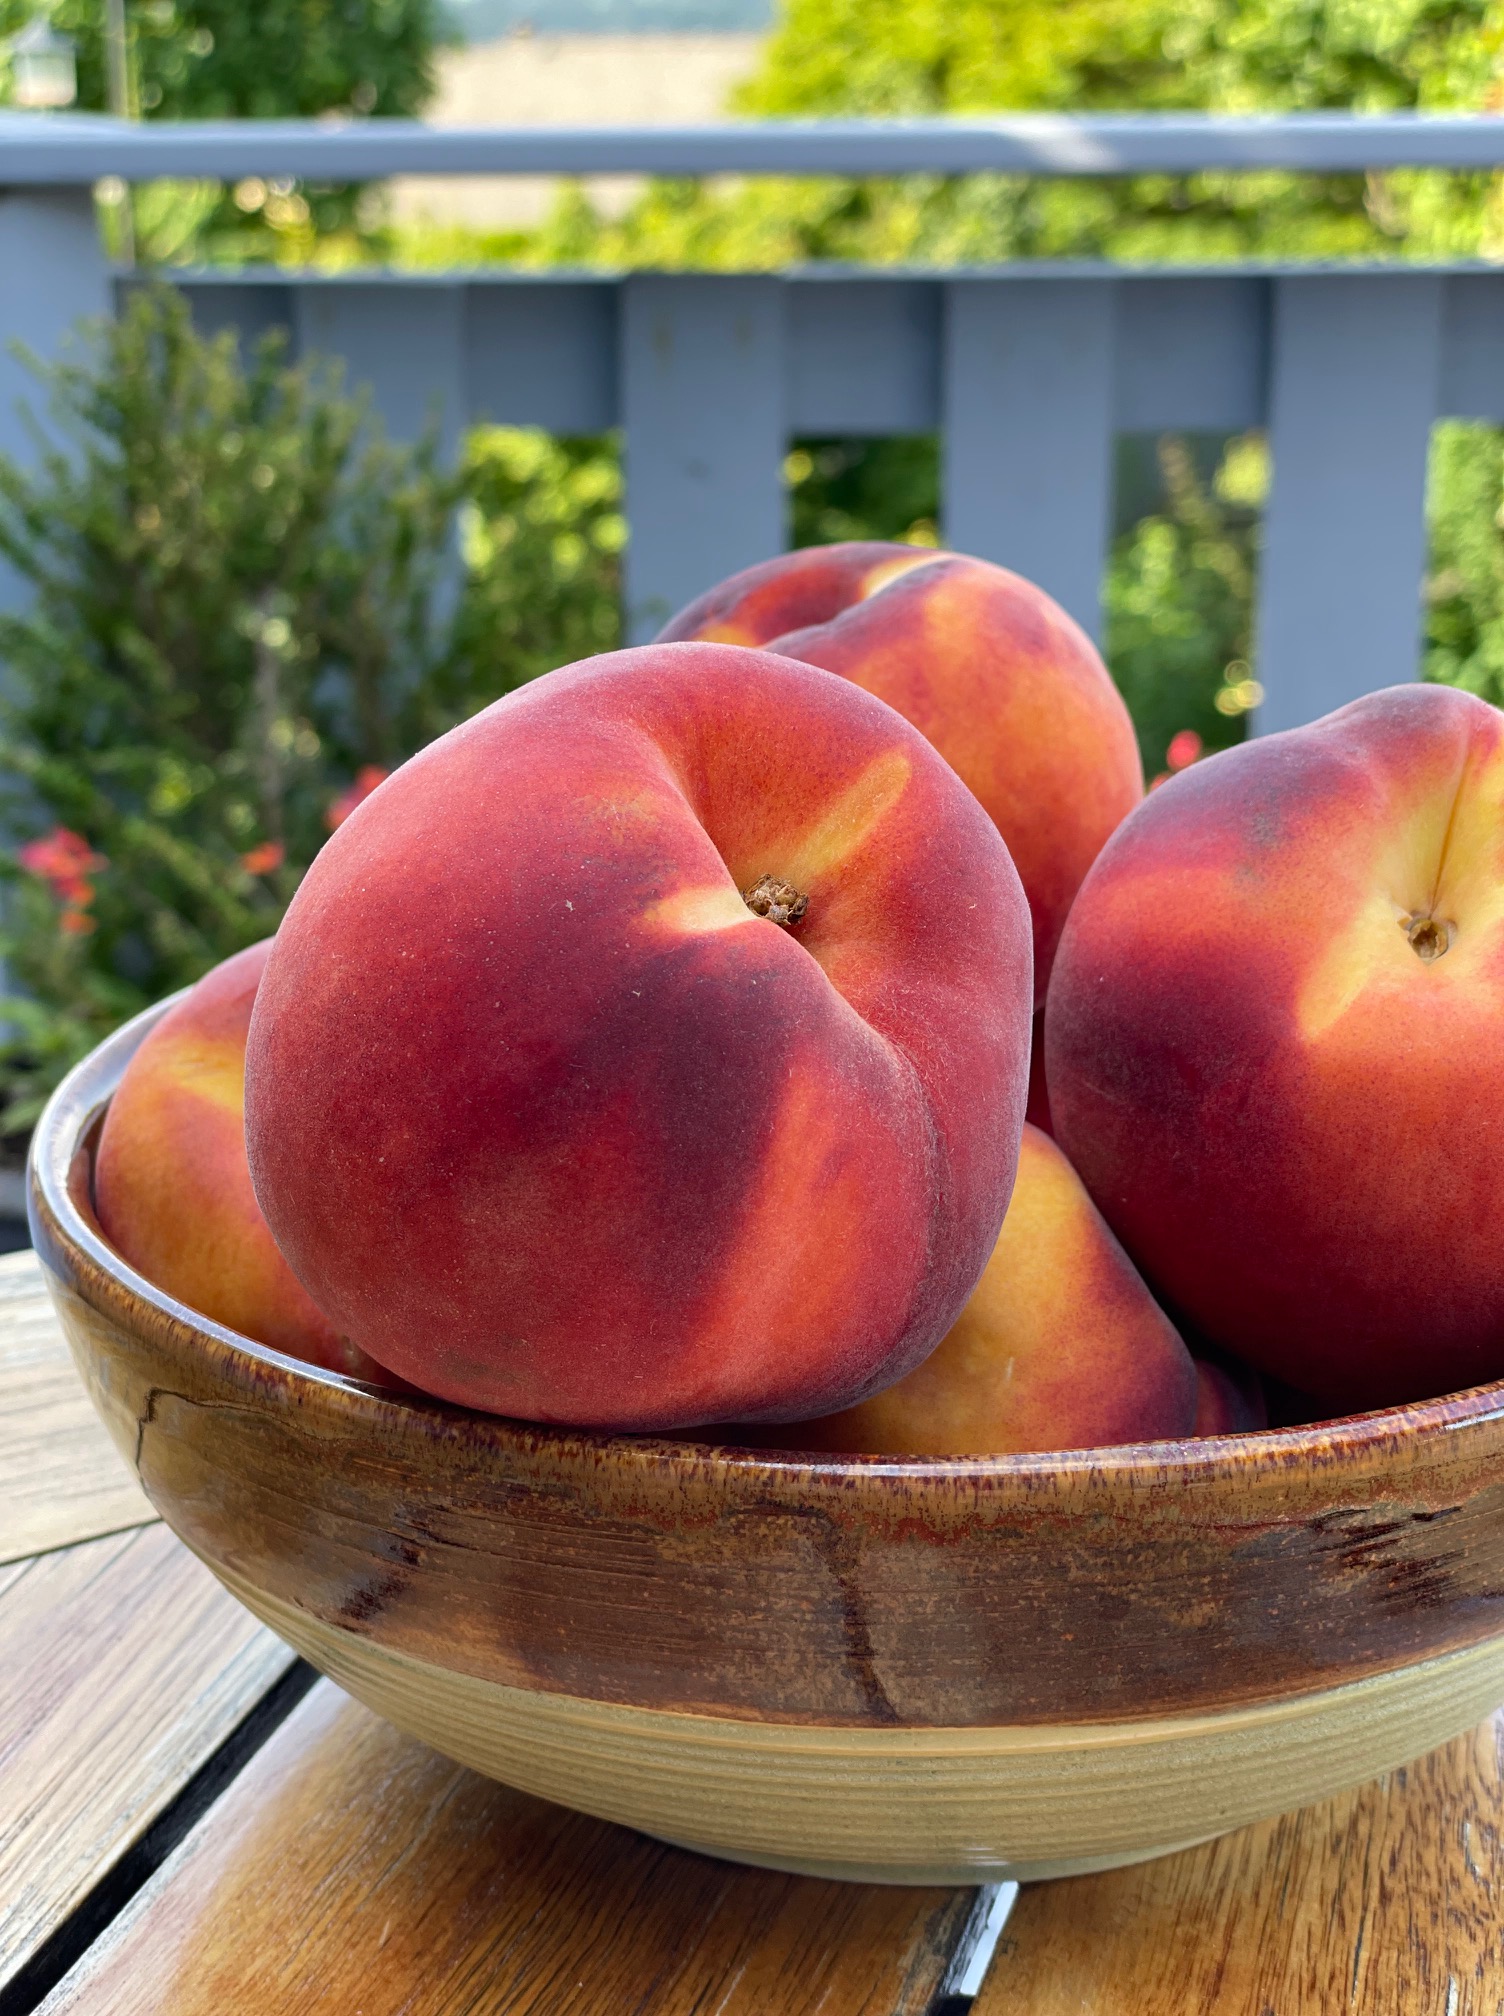
3 lbs sweet, ripe, free-stone peaches, halved, pitted, sliced and chopped (skins on)*
1/2 cup of sugar (adjust for the sweetness of the fruit)
A small pinch of fresh ground nutmeg (cardamom, and/or ginger are also delicious as a compliment to sweet peaches)
1 T freshly squeezed lemon juice
2 tsp Cointreau or Gran Marnier (orange liqueur) (optional)
1/3 tsp Diamond Crystal kosher salt**
1/4 cup (36 g) all-purpose flour
2 T (24 g) quick-cooking tapioca
2 T unsalted butter, cubed
*Peeling the peaches is optional. The skin tends to soften significantly in the filling
** This trick helps to balance the sweetness and/or tartness of the filling, depending on how ripe your peaches are. You can also dot the top with salted butter instead of unsalted.
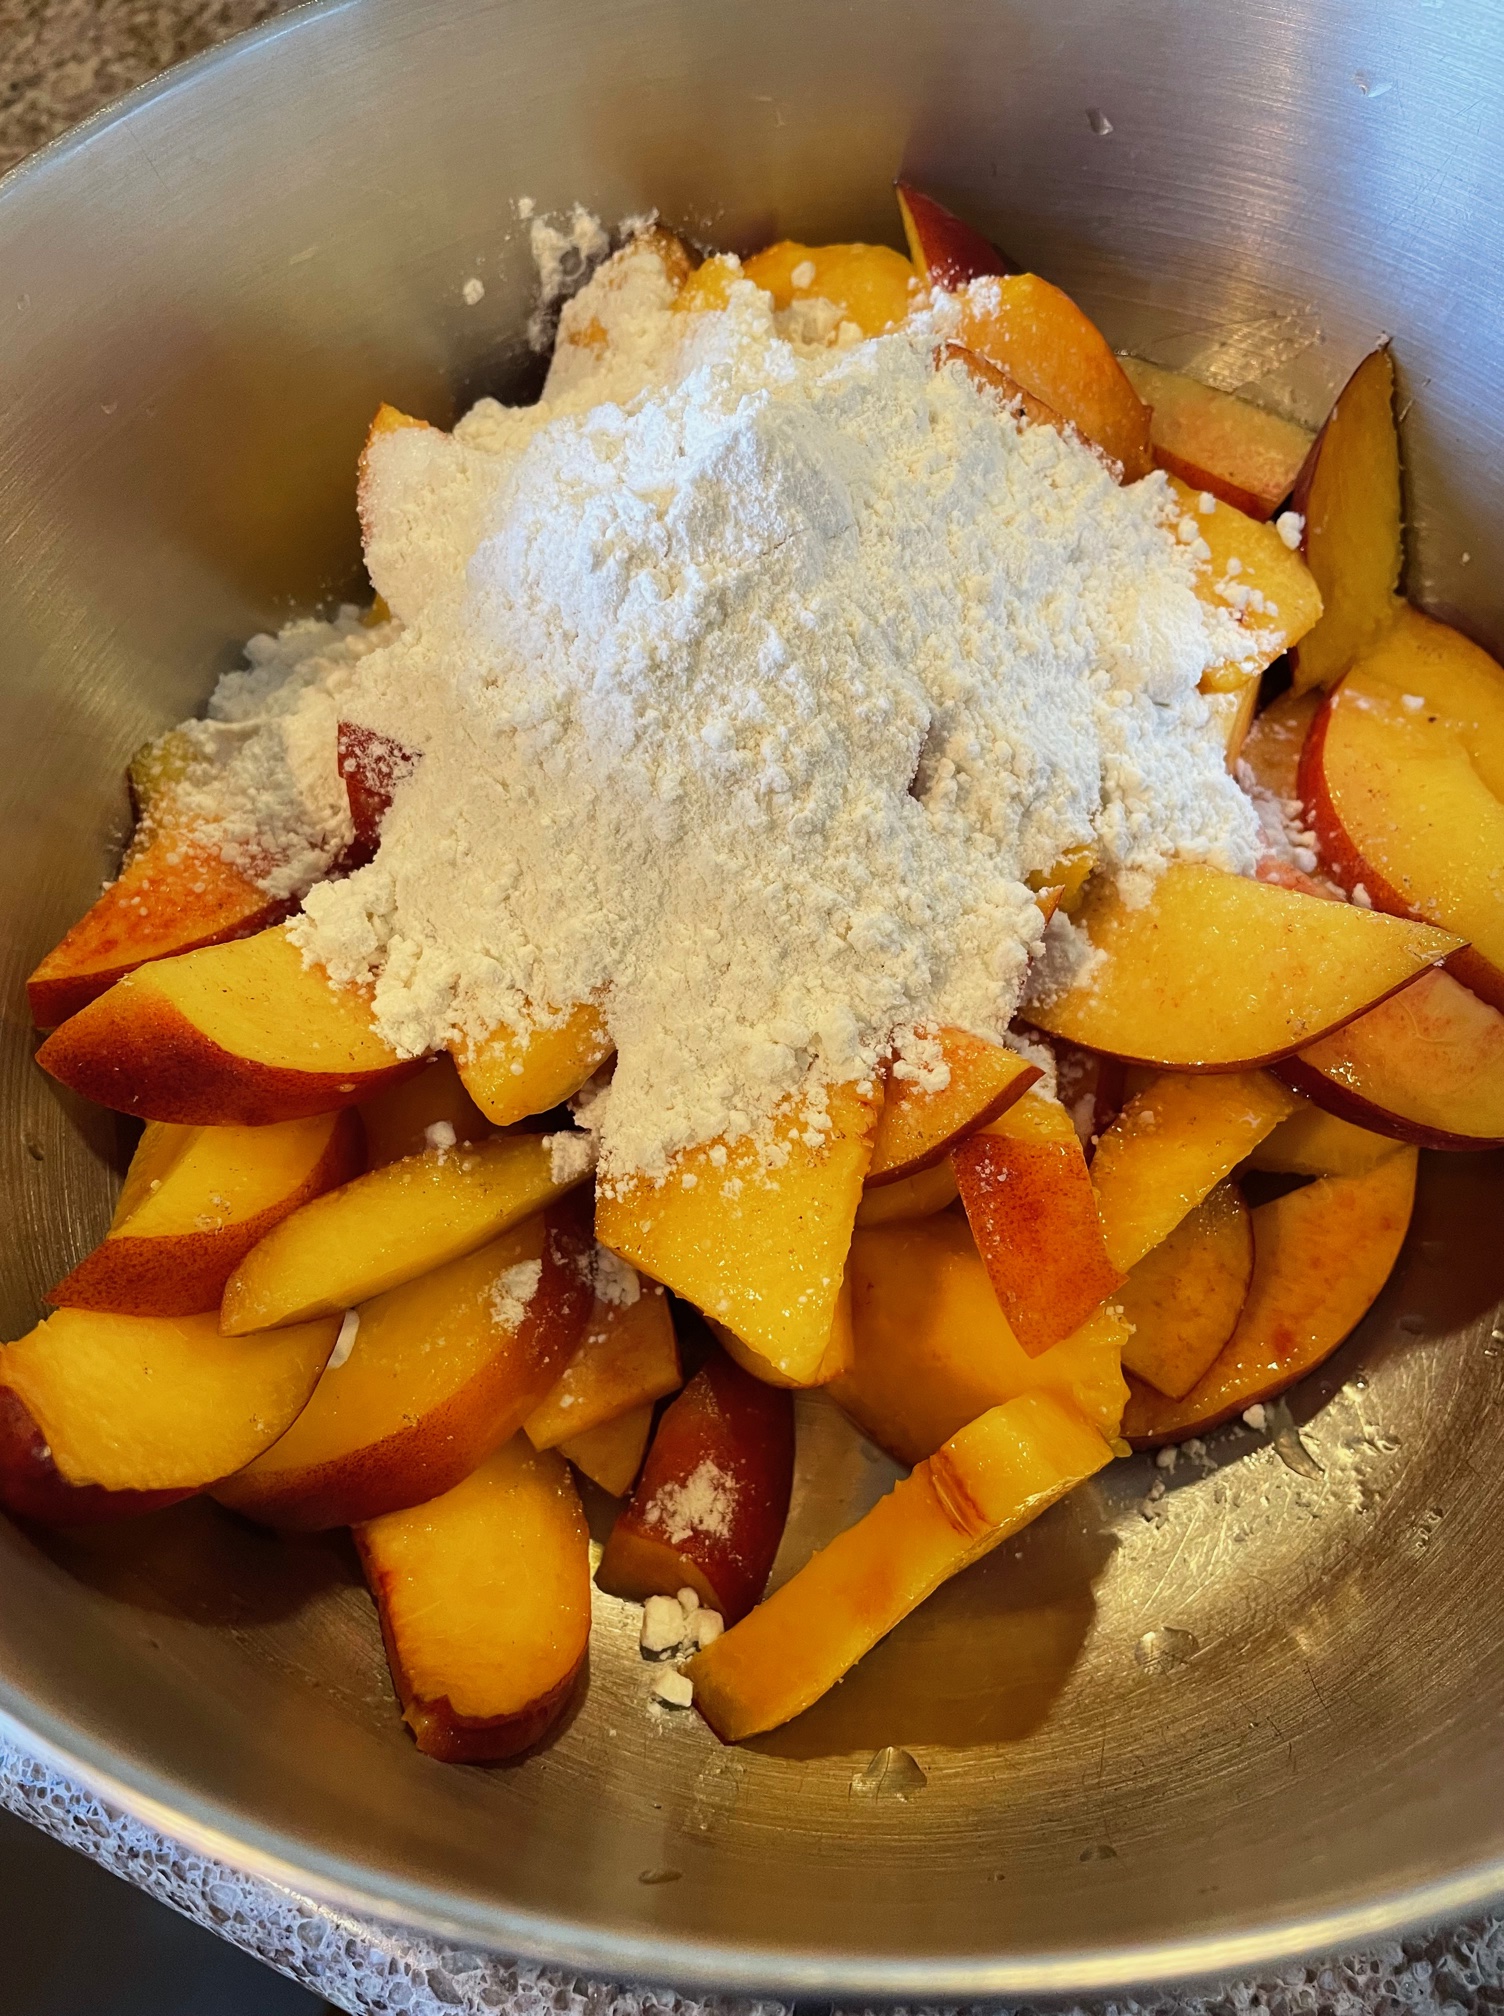
In a large bowl, gently combine the above ingredients, except the butter. Set aside while you roll the pie crust.
Preheat the oven to 425°F.
For the bottom crust, roll out 1 disk of pie dough into a 12-inch circle, about 1/8-inch thick. Press the dough into a 9-inch deep dish pie plate, leaving the excess to hang over the ends of the pie plate.
Top Crust
For the top crust, roll the other disk out into an 11-inch circle. Cut the dough into 1-inch-wide strips. (You should need 8 – 10 strips)
Place the peach mixture inside the bottom pie crust and smooth it out to create a level surface for the lattice. Add all of the juices from the bowl to the pie. It might seem like a lot of liquid, but the flour and tapioca has dissolved in these juices, helping to thicken the pie! Without it, your pie might actually be too runny.
Dot the top of the filling with the cubes of butter.
Arrange the pie crust strips in a lattice pattern over the fruit filling. Trim both the ends of the lattice strips and the excess bottom crust to have a 1-inch overhang from the edge of the pie dish. Fold the excess under itself and gently press down to create a flat edge. Crimp the edges with your fingers or a fork, if desired.
If you don’t want to arrange a lattice top: Simply place the top crust, uncut, over the filling, trim and crimp the edges, and cut 5 to 6 vents in the center of the crust so steam can escape. Alternatively, use a cookie-cutter to cut shapes out of the dough and arrange the shapes on top of the pie.
Egg Wash
In a small bowl, beat the egg with 1 T of water. Brush the lattice topping and crust with the egg wash and sprinkle with about 1 T of coarse sugar.
Bake
Place a sheet tray in the oven while it is preheating. Baking the pie on the sheet tray can help crisp the bottom crust. This is a great trick if you’re worried about a soggy bottom or if you are using a ceramic pie dish that can insulate the dough from high heat and not crisp as well.
Cover the edge of your pie with a pie shield. Bake at 425° F for 20 minutes, then reduce the oven temperature to 375°F and bake for an additional 40 to 50 minutes, or until the top is golden brown and the filling is bubbling all over (even in the center). If the pie starts to brown too quickly or reaches golden brown midway through baking, tent the whole pie with foil.
Place the pie on a cooling rack and cool for 4 to 5 hours before slicing.
If the lattice topping starts to brown too much: Tent the whole pie with a sheet of foil.
Recipe Adapted from Preppy Kitchen
Pie Crust with Leaf Lard/Butter
2-1/2 cups (363 g) unbleached all-purpose flour
1/ 2 tsp salt
1 T sugar
8 T (112 g) unsalted butter
8 T (112 g) rendered leaf lard
1/2 cup (118 g) ice water + 15-30 g more as needed
Additional flour for rolling out dough
Chill work bowl and blade of a food processor. Put flour, salt, sugar and fat into the bowl and pulse 15 times. Use a rubber spatula to make sure it is thoroughly combined.
Add 4 T of ice water and pulse 10 more times.
Add 4 more T of ice water and pulse 5 more times.
Turn the ingredients into a bowl, add more ice water as needed, briefly mix by hand.
Split evenly in two (use a scale for this) and pat each dough ball into a 5” dome, securely wrapping in plastic wrap. Refrigerate for at least one hour.
Roll out the first dough ball into a 11″ diameter circle, leaving the second dough ball in the fridge while you work. Lay the rolled out pie crust into a 9″ pie plate and trim the outside edge about 1/2″ from the rim of the plate. Tuck the overhang under and crimp the edges how you like it. (I didn’t bother to crimp this one). Pour the pie filling into the pie plate, and place in the fridge until you roll the top crust.
Roll out the second dough ball. For the pictured pie (above), I cut a variety of circles of different shapes. You can also cut stencils into the crust which is fun, or weave a lattice crust:
Lattice Crust:
Roll the second dough into a circle as above. The crust should be 1/4” (.6 cm) thick. Using a scalloped pastry cutter or a pizza cutter (a knife will do in a pinch), cut dough into strips 3/4” (2 cm) apart. (Feel free to use a ruler if you cut like me).
To weave, first moisten the edge of the pie with a water using your finger. Lay the two longest strips in an X in the center of the pie. Alternating horizontal and vertical strips, use an over/under method. The shortest strips will be for the edges of the lattice. Trim any excess dough with kitchen shears and then crimp the edges decoratively. Brush the lattice lightly with the egg white mixture and sprinkle lightly with the sugar.


Leave a comment